Remember way back when, the post about changing Ludwig's rear belts from two-point to three-point, in light of the older kid's getting bigger? Last weekend I finally got around to doing the same to the other side.
I was much more hesitant about doing this side because, inconveniently, Westfalia decided that the wardrobe couldn't be an inch shorter to accommodate a three-point belt on that side, and covered up the mounting hole. (What did they do about Westies bound for Sweden, I wonder.)
tl;dr--you have to cut a notch in the wardrobe to mount the seat belt.
tl;dr--you have to cut a notch in the wardrobe to mount the seat belt.
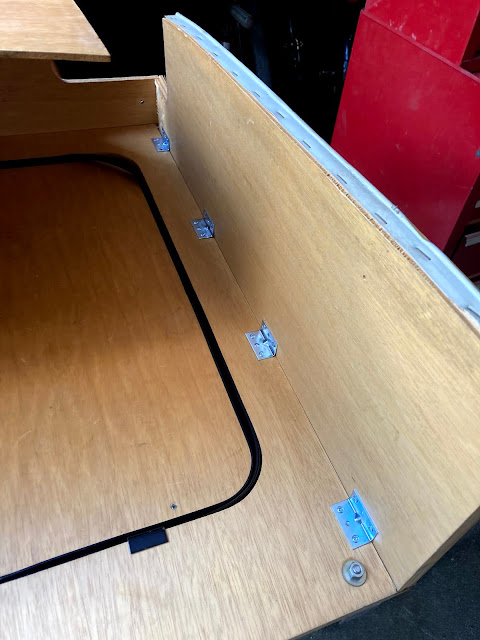
Step one, take out the wardrobe. Four screws outside...
...three screws inside. Then wrangle the cabinet out of the way.
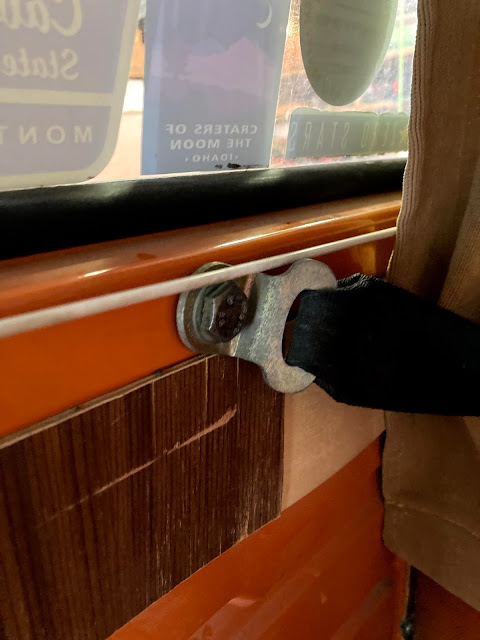
There's the exposed bolt hole, and the back side of all your stickers.
Step two, bolt in the upper seat belt mount, the first time anything was bolted in there in the bus's whole life probably!
Use these fiber spacers (meant for oil pan drain plugs) on both sides of the belt mount, because you can't find thin nylon ones like the originals.
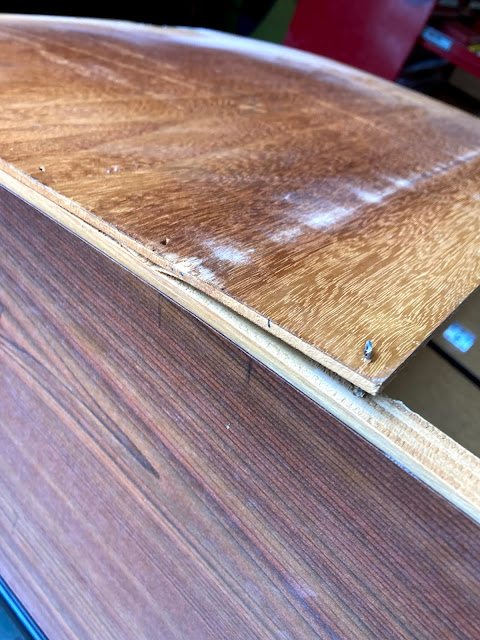
You can see my pencil marks where the notch is to be cut out. You'll want yours to be bigger because I underestimated the space I'd need when I drew these. Also, pry up the inner birch panel for jigsaw access.
The entirely unmolested, near-perfect original cabinet--which is a 74/75-only part (I'm pretty sure)--was worth maybe $200, $250 as it was. So rejoice, owners of the one hundred-fifty or so* entirely unmolested, near-perfect original 74/75-only Westfalia wardrobe cabinets still in existence: yours just got more valuable! You're welcome.
Glue the faux-veneer back on, where it peeled away during the sawing.
Installation is the reverse of removal, as they say. Enlist your favorite child's seat installer and test subject to determine the efficacy of your handiwork.
Success! Reward yourself.
*wild-ass guess, probably high


1 comment:
You done did good!
Post a Comment