Pictures and words (except me in blue in [brackets]) by Colin/Amskeptic, your must-have mobile resource for continued air-cooled Volkswagen running. Thanks, Colin! Thanks lilpig88!
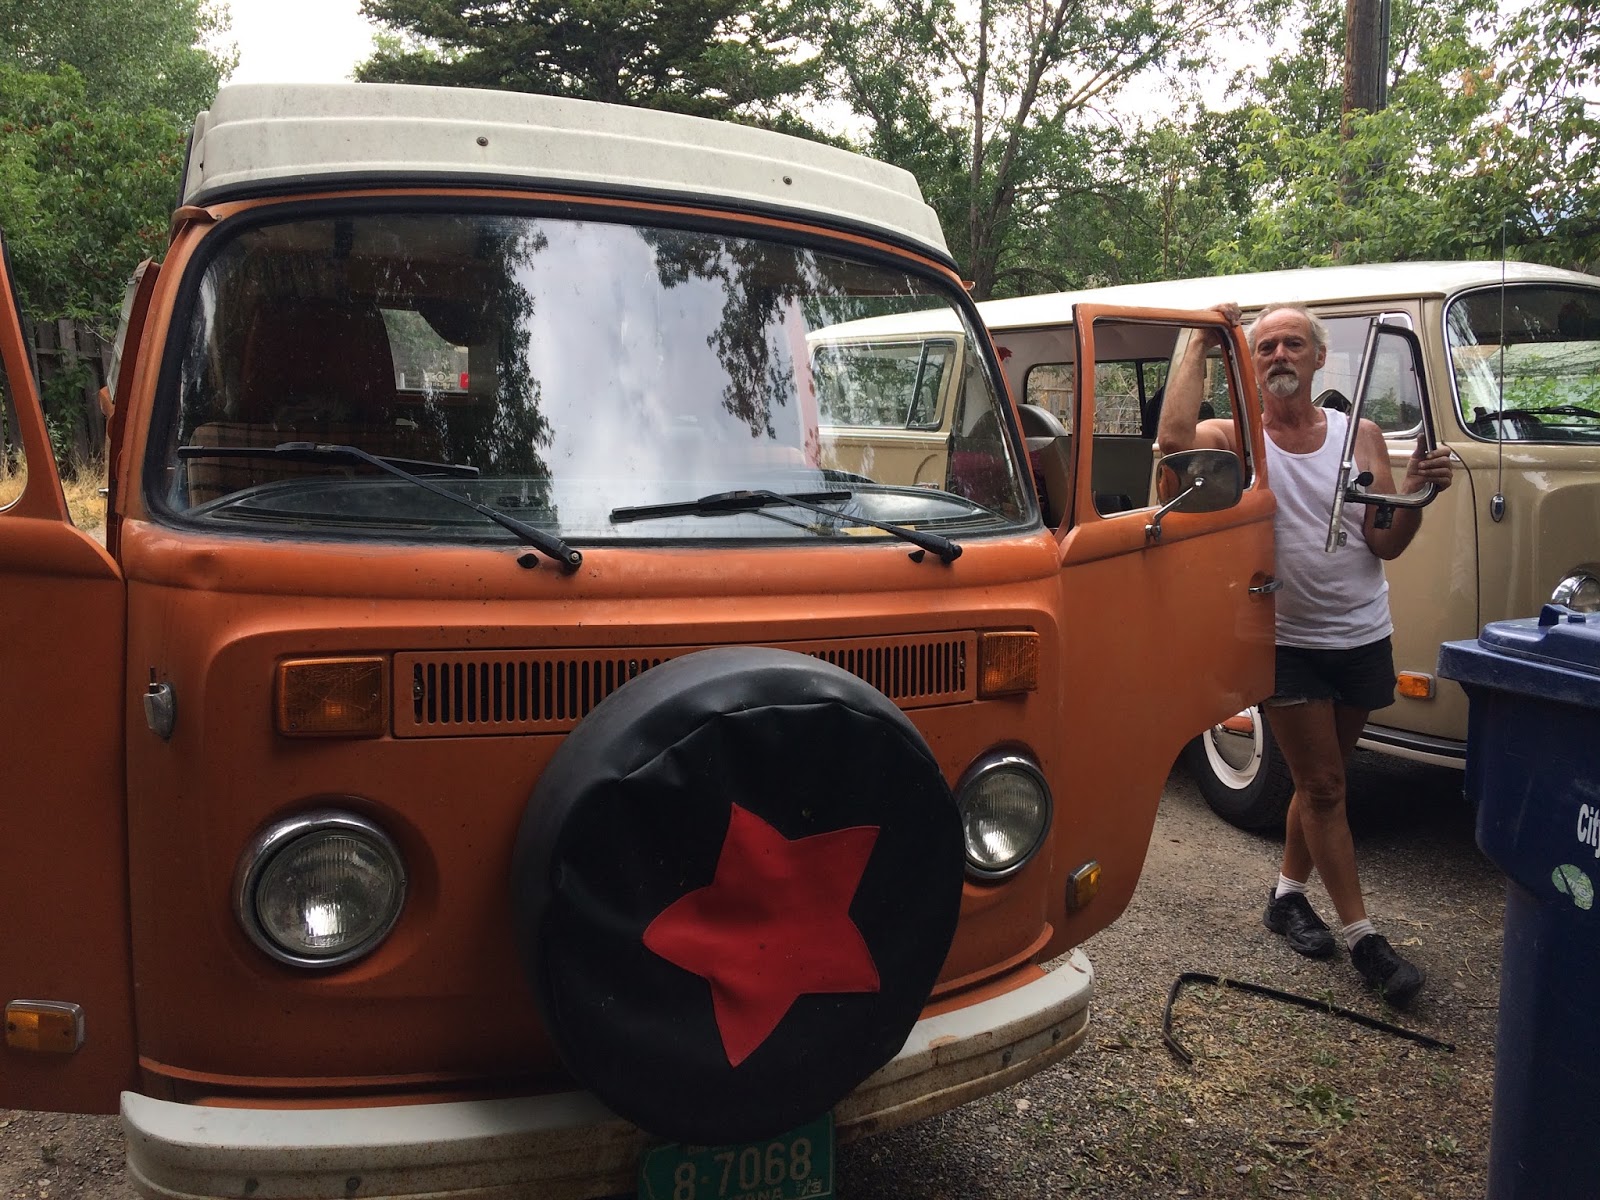
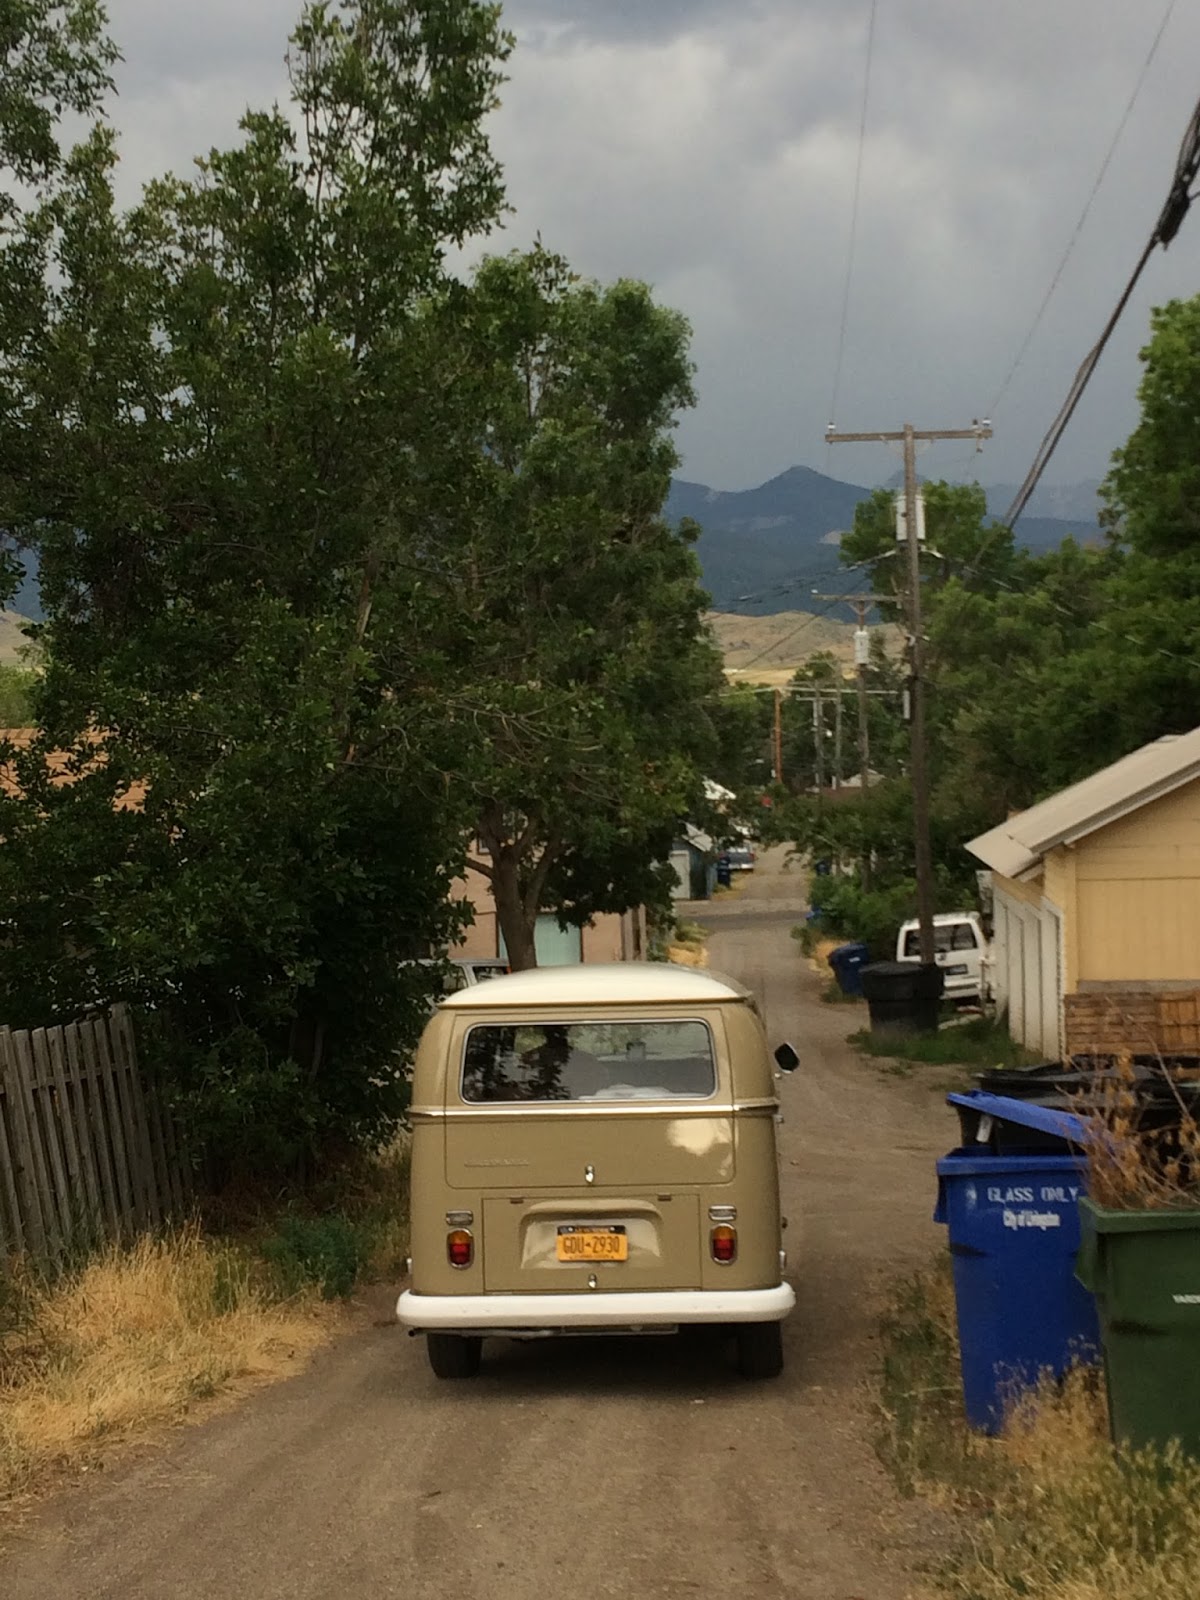
The start of any appointment with whc03grady (if it is not snowing) is always promising [The start of? Is that a dig?]. Look at that pretty Squareback, Gertie, and that famously well-traveled Ludwig the Westy:
We dove into a quick disassembly of the left carburetor's choke assembly so we could tighten the housing/crossbar bracket:
I busted the spade terminal clean off the choke as I removed the throttle link. Vent windows, spade terminals, my trail of wreckage grows. Why, I think it was at this very garage that I glued the choke plate to death to the profound disgust of my two year-old supervisor:
viewtopic.php?f=70&t=13124
p.1 viewtopic.php?f=70&t=13118&start=45
Mitch thankfully cleaned up after me and we soldered the spade back onto the choke housing:
Not photographed, due to the high levels of stress experienced, was the investigation of a pretty severe transaxle leak. The entire front of Ludwig's transaxle presented a multi-focal systemic generalized hemorrhagic gastropathy, and we needed to perform a quick differential diagnosis (ha ha get it, differential?) to narrow down the source.
Plan A replace seal in situ. Should be easy enough, said so on theSamba.
Plan B remove engine and transaxle and nose cone. This is a time eater.
I went for a replacement of the nose cone shift rod seal in situ.
I found out that my special Transaxle Care Package is actually in Atlanta sitting in the back of Chloe. You know, what good does it do there? No replacement brass bushing if I ovalize or crack or gouge the bushing here in MONTANA. . .  Scarfed the back-up seal for NaranjaWesty from under the passenger seat and dove under Ludwig with visegrips and two baby allen wrenches.
a) No. Brass refused to budge, and it wanted to go oval under the visegrips - abort. Stared in disbelief.
b) No. Allen wrenches punctured the original seal and bent to spaghetti under the slightest pull. Stared in disbelief.
( "hello, yes, are you the spouse? We performed the surgery, but if you thought the hemorrhage was bad before, wait until you see it now! Don't forget to pay the bill, our collection agents are really good.'Kay, bye." )
Eventually, and with great great relief, I got the seal out with two of Mitch's hook tools. Mitch, meanwhile had taken apart all the required hoses and clamps and lines and push rod clevis on the booster/master cylinder. We put a moment or sixty into checking Gertie the Squareback's D-Jet engine which would not start. After a little breaker point adjustment and static timing to compensate for the failed DVDA can, we got Gertie to run with an enema of gasoline trickled down into the auxiliary air regulator hole. This told us that the ignition system and basic engine air pump was fine, but we are not getting fuel.
Scarfed the back-up seal for NaranjaWesty from under the passenger seat and dove under Ludwig with visegrips and two baby allen wrenches.
a) No. Brass refused to budge, and it wanted to go oval under the visegrips - abort. Stared in disbelief.
b) No. Allen wrenches punctured the original seal and bent to spaghetti under the slightest pull. Stared in disbelief.
( "hello, yes, are you the spouse? We performed the surgery, but if you thought the hemorrhage was bad before, wait until you see it now! Don't forget to pay the bill, our collection agents are really good.'Kay, bye." )
Eventually, and with great great relief, I got the seal out with two of Mitch's hook tools. Mitch, meanwhile had taken apart all the required hoses and clamps and lines and push rod clevis on the booster/master cylinder. We put a moment or sixty into checking Gertie the Squareback's D-Jet engine which would not start. After a little breaker point adjustment and static timing to compensate for the failed DVDA can, we got Gertie to run with an enema of gasoline trickled down into the auxiliary air regulator hole. This told us that the ignition system and basic engine air pump was fine, but we are not getting fuel.

Provided a nice blue ATE box of a new ATE master cylinder to present to Mitch as we determined that his old master cylinder was leaking slowly and had destroyed his brake booster control valve with advanced rusty braky fluidy slime. But when I opened the new master cylinder box, I only then remembered that the new master cylinder was already installed in Naranja, and that old crusty mess in the box was Naranja's original "rebuildable master cylinder". Stern rebuke to my parts inventory clerk. We decided to put in Mitch's old master cylinder on the new booster, and it was a sorry looking rusty undertaking, but we did good. HE did good. I was very not helpful with his reinstallation of the booster/master cylinder because I was all over Gertie's refusal to fuel herself. We did a simple bleed at the fittings and the pedal was good. He has a week or so to enjoy true power brakes before replacing the master cylinder with a real new ATE replacement. It'll be FINE, Mitch:

Gertie told us that she had a locked fuel pump. Removed it. Disassembled it. Made it spin. It spun itself under electricity. Re-assembled it:
Installed it. It spun. No fuel pressure. Removed it. Said hello to lilpig88:
After another failed re-rebuild of the original Gertie pump with hoses and buckets and wires where the electricity was to be found behind NaranjaWesty's bumper, we embarked upon an insane Bunch Of Boys mad experimentation. It was mad:
We used lilpig88's spare Type 4 pump and my spare filter AND the original pump (to be used as a return manifold) and we wired up the pump and we stuck what we thought was the correct R (return) hose into a gas can.
Yeah, we thought it was pretty funny . . .
"Get a fan to help evaporate this explosive vapor":
But, Gertie ran. Gertie ran and ran, got warmed up and ran. Gertie needs a fuel pump. It'll be FINE, Mitch:
Ludwig's test drive was all that I hoped. Nice power brakes. Decent enough engine with the failed DVDA advance compensated for. Didn't see any hemorrhage from the transaxle, but I will let Mitch chime in on that one.
The Livingston Crew pulls it together for a final second:
But just for a second: